
Crochet Shell Stitch Free Pattern and Tutorial

The Shell Stitch is one of my favorite crochet stitches. It is simple to learn and very repeatable. However, for such a simple stitch consisting only of single and double crochet stitches, it gives an interesting, wavy texture full of colors.
You can use the shell stitch in plenty of projects. The most popular ones include baby blankets and all baby garments that you can imagine, such as hats, cardigans, dresses, and more. You don’t have to limit yourself to baby projects, though. You can also use it to make an adult hat, scarf, women’s top, or bag.
The shell stitch is very easy, so it’s an excellent stitch for beginners who want to develop their crochet skills.
The shell stitch is also very repeatable: the pattern repeats every 2 rows. It is based on simple stitches. All you need is basic knowledge of how to make a chain, single crochet, and double crochet, and you are ready to go.

What Is a Shell Stitch in Crochet?
A shell stitch is a popular crochet motif created by working a few stitches in the same place. Each shell is made into a single crochet between the shells of the previous row.
The basic crochet shell stitch has 5 double crochets worked into the same chain followed by a single crochet.
The shell can be created from more stitches than 5, but there have to be tall stitches to give it its characteristic shape. You can use double crochets, treble crochets, or even taller stitches.
The shape visually resembles a traditional shell, which is where the name comes from.
The Shell Stitch Crochet Diagram

The Shell Stitch is a lovely and repeatable stitch. Once you know it, your hands can work the stitches almost subconsciously while you are watching your favorite TV series or movie.
Below is a diagram showing the sequence of simple stitches that make up the shell stitch pattern. This simple and easy-to-read shell stitch chart contains all the information you need to lay out your shell stitch project.
Tips to Help You Read Crochet Diagrams
If you have never read a crochet stitch diagram before, don’t be discouraged. It’s simpler than you think.
A crochet diagram consists of symbols. To crochet a shell stitch, you are using only 3 different stitches:
Chain
Single crochet
Double crochet
Each of these stitches has a corresponding symbol on the diagram.
To follow the diagram, you always start from the bottom left. Start by making a row of chains — 19 on the crochet shell stitch chart above. You then move from the left to the right side of the chart.
A turning chain will take you to the next row of stitches. Now, follow the diagram from right to left.
Shell Stitch Crochet Pattern and Tutorial
Handcraft enthusiasts are no strangers to the popular crochet shell stitch pattern. This beautiful stitch is often used in various crochet projects, and it is easy to see why. With its pretty and delicate look, it has become one of the most beloved and popular stitch patterns among crocheters.
I hope I convinced you to learn how to do the shell stitch with me! It will take less than 15 minutes of your time to learn and turn you into a shell stitch pro.
This stitch creates a solid texture with a unique design. It is no surprise that the crochet shell stitch is so popular for baby blankets and tops. Shell stitch projects are also easy to personalize by introducing your favorite colors in various combinations.
Before getting started, gather all the materials you need.
Materials You Will Need
Yarn
To crochet the shell stitch, you can use any yarn you already have.
For beginners, worsted-weight yarn is usually recommended as the most universal yarn. It is a medium-weight yarn marked as size 4 on a yarn label. It is ideal for many items, including bags, cardigans, or blankets.
However, the final choice of yarn will depend mostly on your project’s intended use. Lighter yarns, such as DK or sport weight, are better for summer wearable items like tops or dresses.
Crochet Hook
Crochet hooks come in different sizes and are essential when making shell stitch patterns.
A typical crochet hook size for making baby blankets is H-8 (5 mm) or I-9 (5.5 mm) to produce an ideal tension for the yarn used.
Baby blankets can be made using various types of yarn, including acrylic, cotton, or wool. You can choose a specific type of yarn depending on the preferred texture, color, and durability.
Use a crochet hook corresponding with your yarn. You will find the recommended hook size on the yarn label.
Scissors
You will need scissors to cut yarn tails.
Yarn or Tapestry Needle
A yarn or tapestry needle is needed for weaving in the ends.
Abbreviations Used in This Pattern
The standard crochet abbreviations used in this tutorial are:
ch = chain stitch
dc = double crochet stitch
sc = single crochet stitch
st/sts = stitch/stitches
For example, work 5 dc means work five double crochets.
And that’s all! Amazing, isn’t it?
Pattern Notes
This shell stitch pattern is written in US crochet terms.
How to Crochet a Shell Stitch Step by Step
yarn color at the beginning of a row:
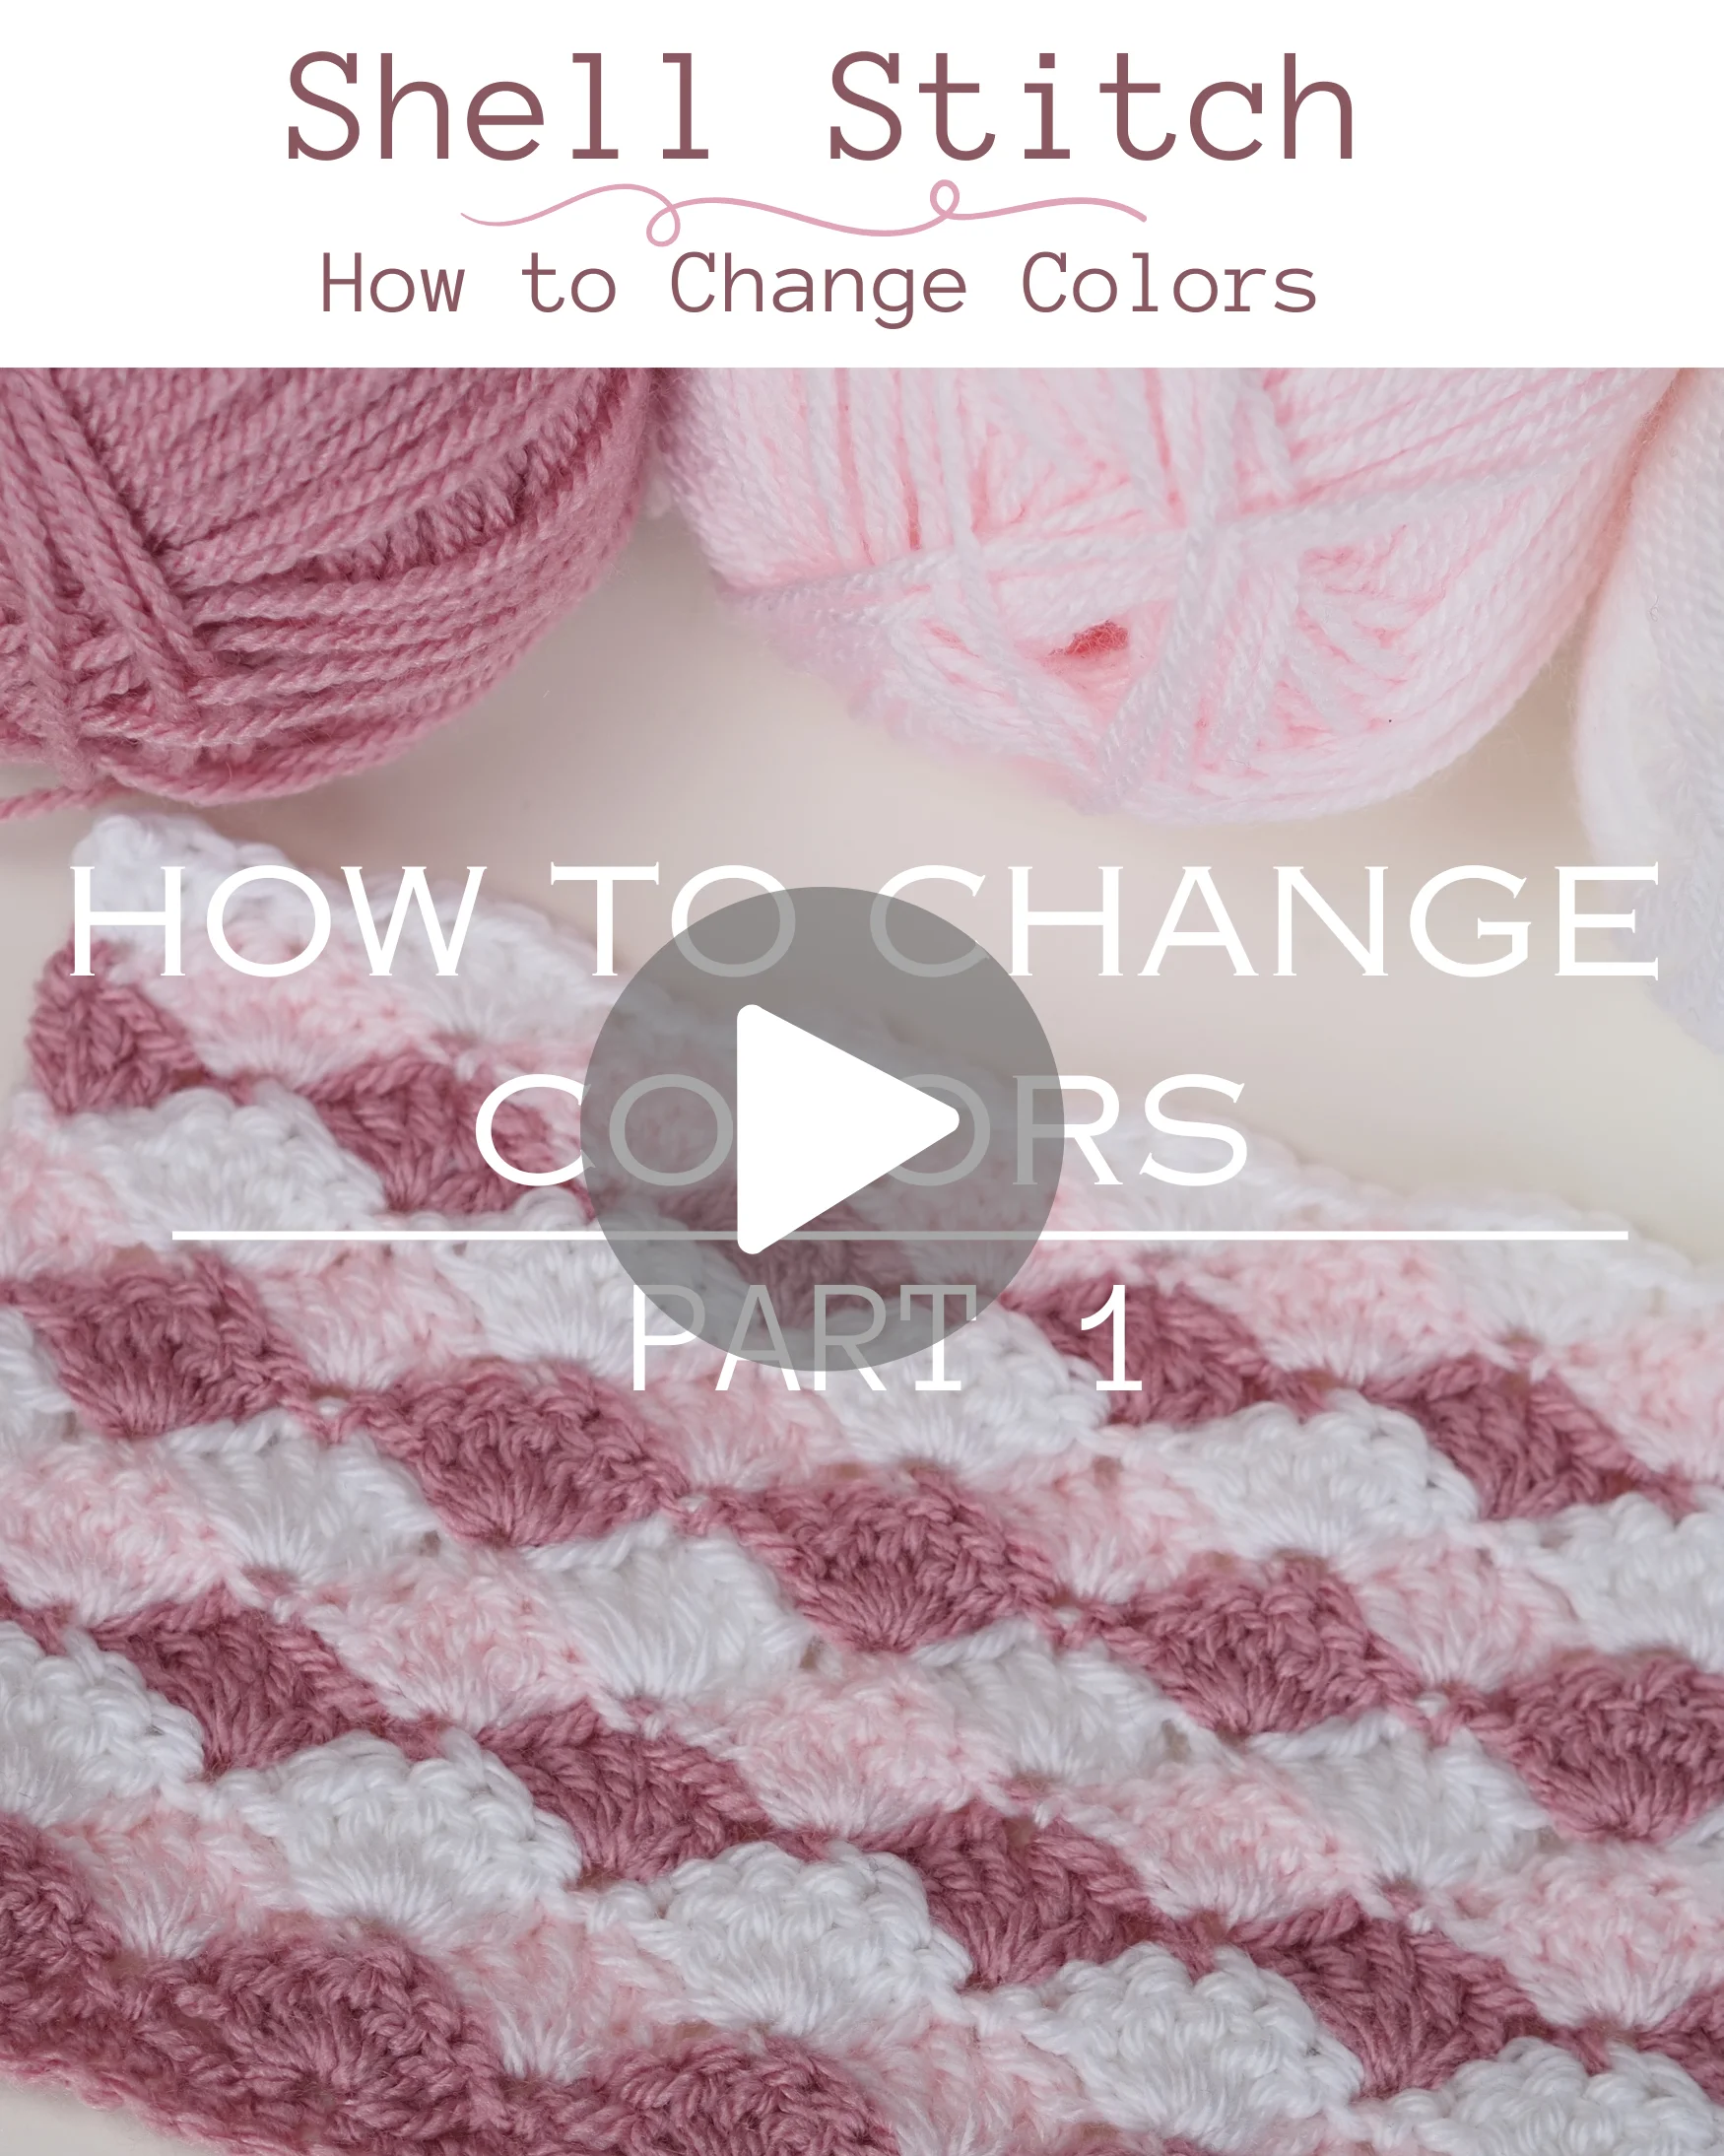

Below, you will find a step-by-step guide on how to make an easy shell stitch. For visual learners, a photo tutorial can also help explain each step of the shell stitch.
Foundation Chain
The multiple for a shell stitch is 6 plus 1 plus a turning chain.
Examples include:
12, 18, 24, 30, 36, 48, 56, 60, plus 2
(1 chain and 1 turning chain).
For example, to make 3 shells in a row, you need a starting chain of 20.
The calculation is:
3 × 6 + 2 = 20
If you want to increase the number of shells in a row, simply add 6 chains for each additional shell you plan to make.
When we do the math, we start by crocheting the calculated number of chains.
I made 3 shells per row in my example. To follow along with my swatch, start with chain 19. Next, make 1 chain more as a turning chain, and single crochet in each chain, for 19 single crochets in total.
In many sources, you can find that the multiple of the chain for the shell stitch is 6 plus 2. In such cases, a turning chain is counted as an additional chain.
But what if you are incorporating the shell stitch into an existing project?
Your shells would occupy 6 stitches of the previous row per shell plus 1. That’s why here we will start with a row of single crochets. It’s easier for a beginner to understand and count stitches correctly.
Row 1

Step 1
Start the row with ch 1 as a turning chain.
Sc into the second chain from the hook.
Step 2
Skip the next 2 stitches, then make 5 dc into the next chain.
Skip the next 2 stitches, and make sc into the next stitch.
This is your first shell.
Step 3
Repeat Step 2 until you reach the end of the row.
If you like diagrams, this is how the sequence looks schematically.
The last stitch should be a sc into the last sc from the previous row.
Turn your work.
Row 2

Now we will form a half-shell to maintain the swatch.
To do this, chain 3 and make 2 dc into the first stitch.
The chain 3 counts as a dc, so the 3 dc here form half of a shell.
Step 2
Next, skip 2 sts and work sc in the next st.
You should be working the sc in the center dc of the shell from the previous row.
Step 3
Skip 2 sts and make 5 dc into the next sc.
You should be working the 5 dc into the sc in the row below.
Step 4
Repeat Steps 2 and 3 to the end of the row.
Finish the row with a half-shell by working 3 dc in the last sc from the previous row.
Continue the Pattern
For the next rows, repeat Rows 1 and 2 until you reach the desired length of your project.
Pin This Pattern for Later
Save this shell stitch pattern so you can easily return to it whenever you want to make a new project.
Troubleshooting Common Mistakes to Avoid
A shell stitch is very easy, and there aren’t many traps along the way. Here are some of the most common mistakes and problems.
How Do I Change Colors in a Shell Stitch Project?
The shells look even more spectacular when each row is made in a different color. Use two or more different yarn hues to create stripes.
To change color, simply pull through a new color when making the last step of the last stitch in a row.
Work the last single crochet stitch with the current color without completing the last step of the stitch. Instead of pulling through with the current color, grab a loop of the new color and pull it through the 2 loops on the hook.
Continue the pattern with the new color of yarn.
There is also a second method. You can secure the newly introduced yarn with a knot and then continue with the pattern.
See the short video tutorial explaining these two methods of adding a new yarn color at the beginning of a row.
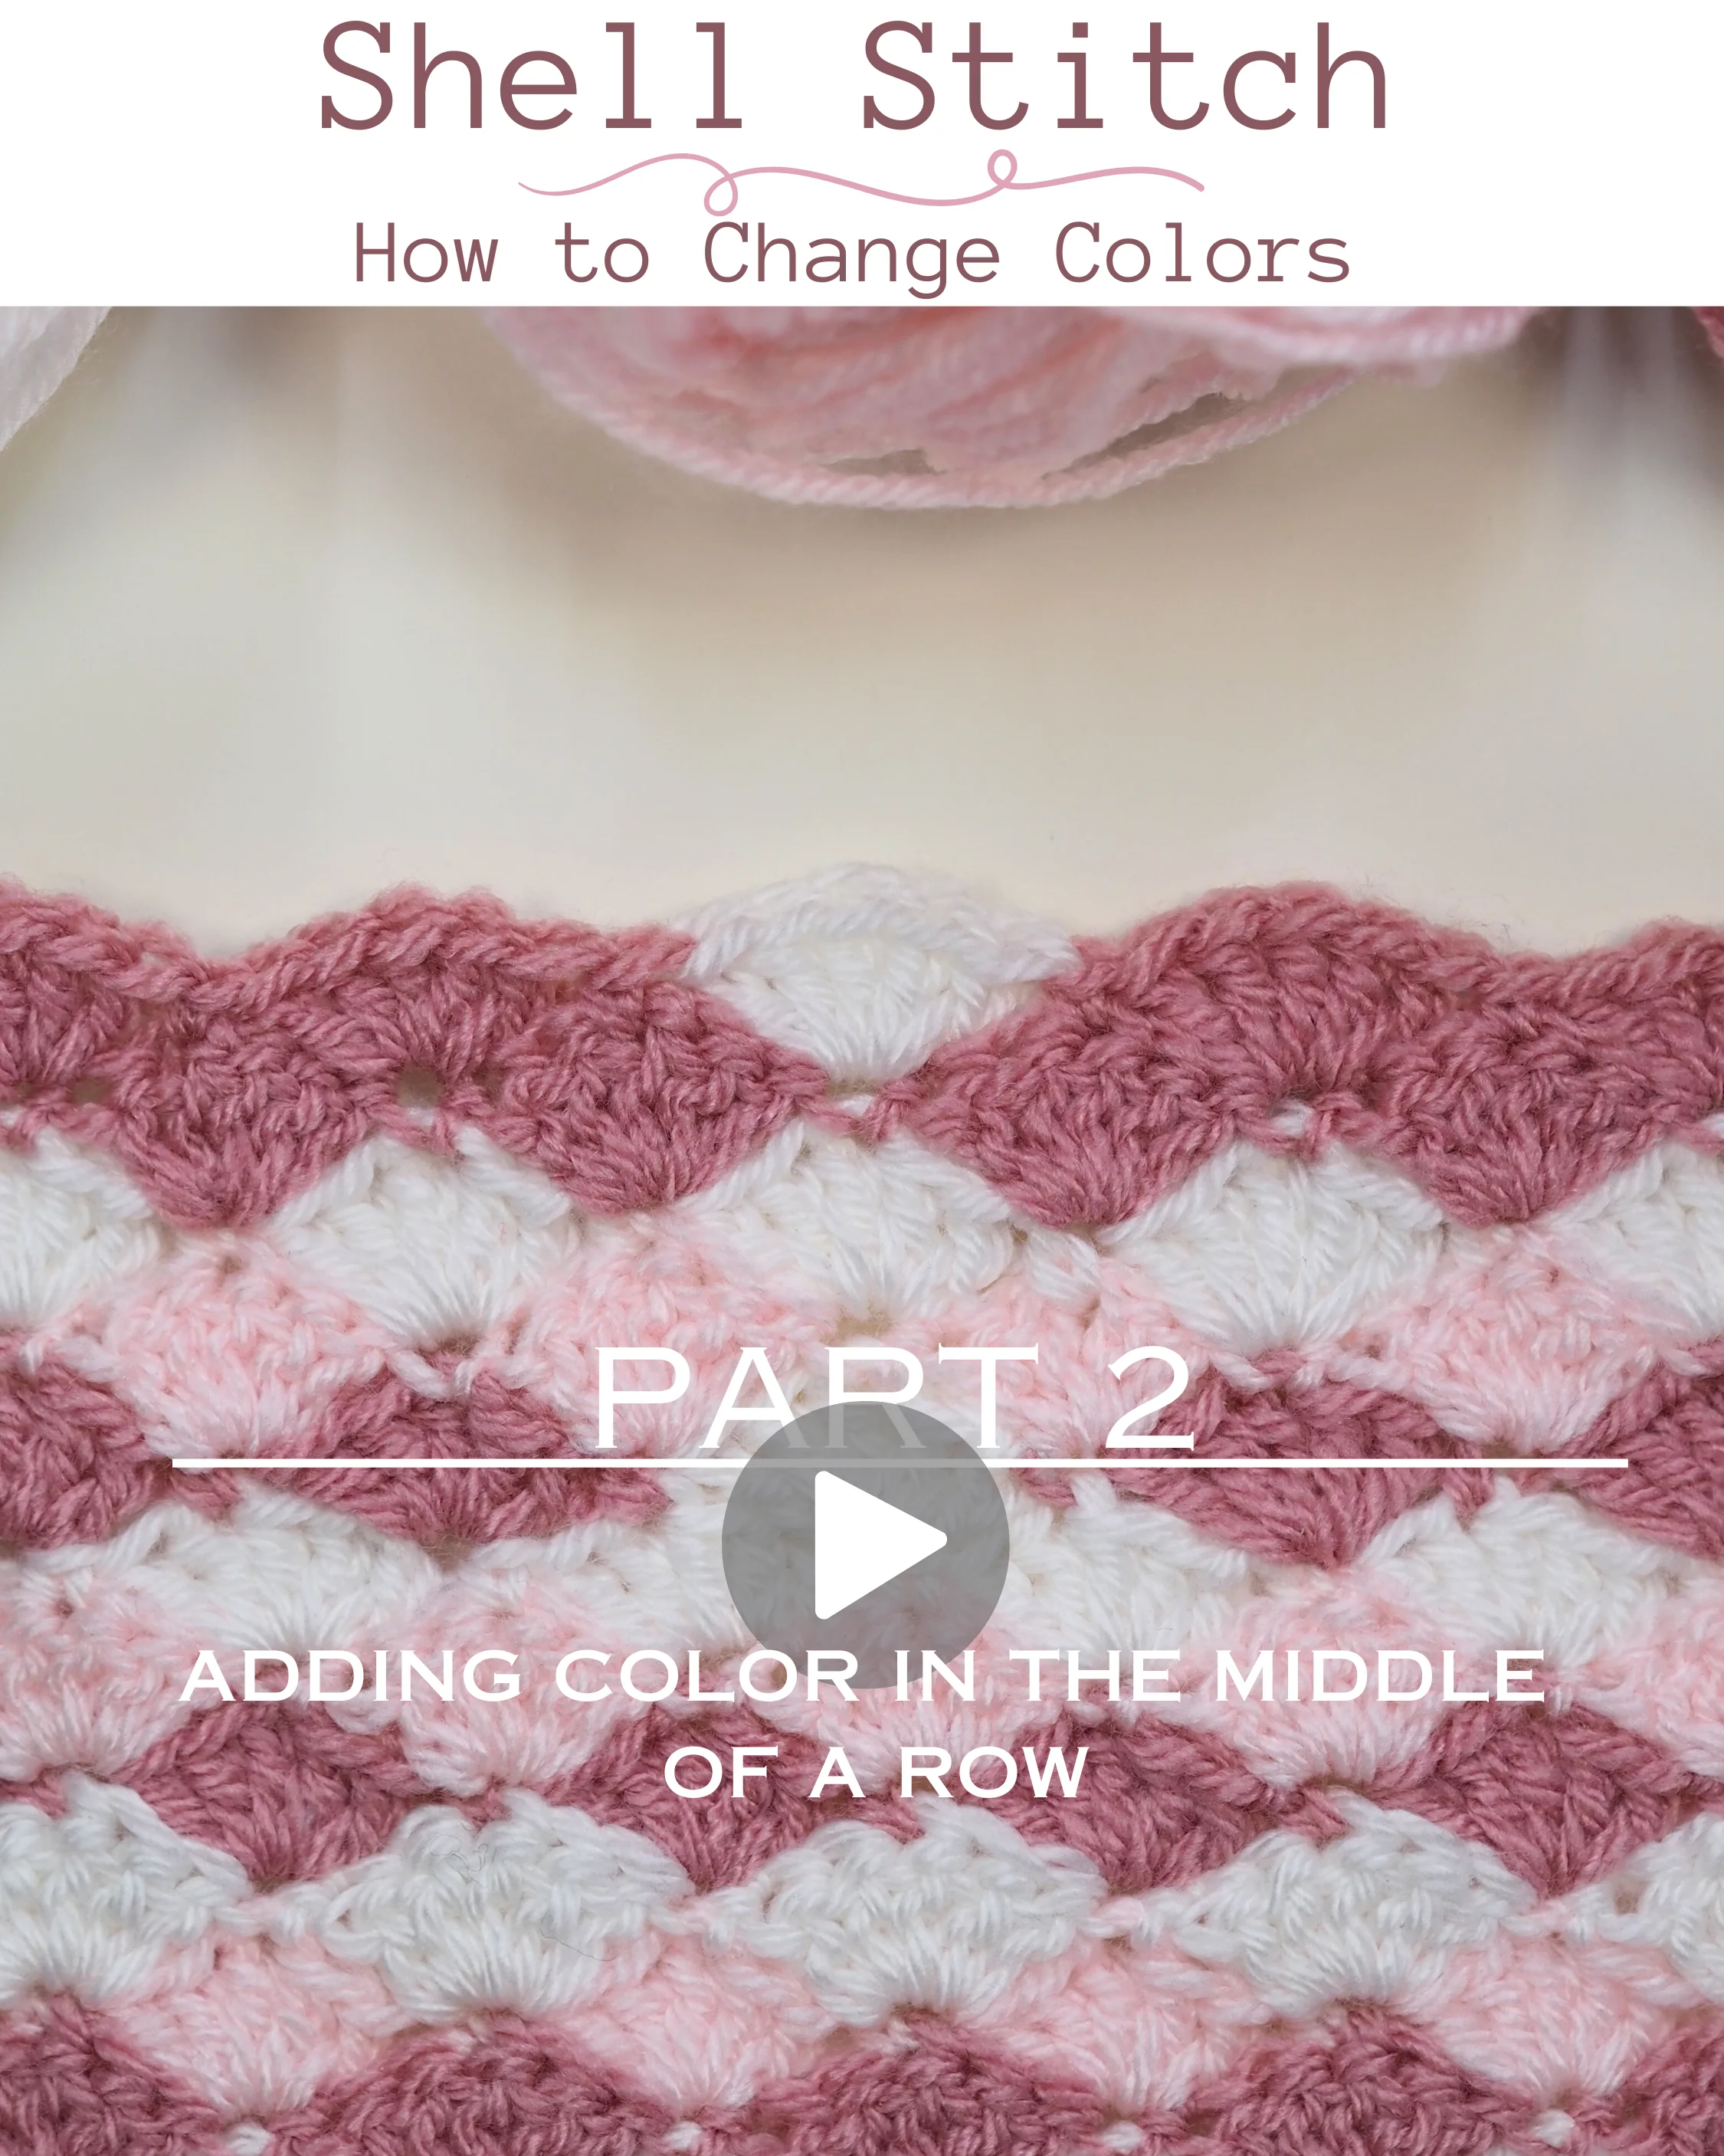
How Do I Change Colors in the Middle of a Shell Stitch Project?
When making a shell stitch, you usually add a new color at the beginning of the row. But you don’t have to wait until the end of the row. You can introduce a new color at any point in your shell stitch project.
The best spot for a color change in the middle of a row is a single crochet stitch between 2 shells.
To change the color, finish the current shell with the color you are already working with. Then, insert the hook and yarn over to make a single crochet.
You now have 2 loops on the crochet hook.
To finish the single crochet, skip the current yarn and pull over the new one.
Continue with the new color to make the next shell.
If you want to change the color back or again, introduce the new yarn just before finishing the 5th double crochet stitch of a shell.
What to Do With the Yarn Tails
The downside of stripes is that they create a lot of yarn tails to weave in.
You have to weave in the ends before cutting off the yarn ends.
To do this, pick the off side of your work. A shell stitch is double-sided and there is no obvious right or wrong side, so you have to decide which side will be the front.
Using a tapestry needle, weave in the ends through the stitches of the same color.
Run the end under several stitches, then reverse the direction. Changing directions keeps the end more secure.
Weave it back under several more stitches.
Finish on the wrong side of the project and trim the yarn close to the work.
Trim Far From the Edge
Avoid trimming on the side, as any loose ends are more visible at the edges.
Unless you are planning to add a border to your project, finish weaving in the yarn an inch or more away from the edge.
Tips for Beginners
Foundation Chain
As mentioned before, you can start the first row with shells directly on a foundation chain, and many patterns show exactly that method.
However, if you are a beginner, adding a row of single crochets will help you count the stitches correctly.
Miscounted Stitches
Double-check that you are following the pattern correctly.
Any mistakenly skipped stitch moves the next shell and there will not be enough room to finish the last shell.
This will also distort the symmetry of the next rows and the whole project.
Thankfully, after Row 1, it is harder to make a mistake because the already existing shells will help guide you through the next rows.
Crochet Shell Stitch Variations
The crochet shell stitch has many variations. It is like a popular dish — everyone has their own favorite.
The most “true” one is the shell stitch described above, which consists of five double crochet stitches.
Variations in the shell stitch can be based on several factors:
Different stitches: Instead of double crochets, you can use treble crochets, half double crochets, single crochets, or a mix of stitches to form the shell.
Different heights: A shell can be made using stitches of different heights, with smaller stitches on the outside and taller stitches in the center. For example: 1 sc, 1 hdc, 1 dc, 1 hdc, 1 sc.
Different numbers of stitches: Instead of 5 dc, you can make a shell using 7 or 3 stitches.
Chain spaces: Chain spaces can be added between the shell stitches to create a fan stitch structure. Fan stitches are often also called shell stitches.
Different placement: Shell stitches can be worked into different stitches instead of into the same stitch. To create a shell stitch border, you can repeatedly work the sequence 1 sc, 1 dc, 1 tr, 1 dc, 1 sc into the five following stitches.
Different structure: Shells can be worked with different symmetry instead of making traditional rows. They can be structured in vertical or diagonal rows.
Open shell stitch: Replacing the single crochet between the stitches with taller stitches creates a more open and airy pattern. A popular way to make this variation is to create a V shape using 1 dc, ch 1, 1 dc between the shells.
For a more intricate shell stitch variation, see the examples below.
The Truly Shell Stitch Free Crochet Pattern
Here is an exceptional shell stitch pattern and tutorial.
I called it The Truly (Realistic) Shell Stitch because it looks like real shells, unlike many other projects.
You can use this pattern in almost every project.
Try it in:
Baby dresses
Jackets
Blankets
Hats
Designer: My Picot
The Truly Shell Stitch
Visit the free pattern site for the complete pattern.
Puff Shell Stitch
Finally, why not add some puff to the shell stitch?
This is a fun and cute shell stitch variation that you will enjoy making. Prepare yourself to have some fun crocheting!
Puff Shell Stitch Free Crochet Pattern
Go to the pattern: Puff Shell Stitch
Puff Shell Star Stitch
To make this mesmerizing-looking stitch, all you need is single or treble crochets and a nice ombre yarn.
It is a great pattern for a soft, warm baby blanket.
Follow the tutorial for this pattern on Hooked by Robin:
Puff Shell Star Stitch
Easy Shell Stitch Free Crochet Pattern
For those new to the shell stitch who want to start with a basic chain stitch, here is a tutorial explaining how to do it.
To begin, start with a foundation chain that is divisible by six, then add an additional two chains to the end to create the turning chains.
Afterward, make a double crochet stitch (dc) in the fourth chain from the hook, followed by two double crochet stitches in the same chain stitch.
Skip two chain stitches, then make a single crochet stitch (sc) in the next chain stitch.
Skip two chain stitches again. After this, make five double crochet stitches (5 dc) in the next chain stitch.
Repeat the pattern until the end of the row, making sure to end the row with two double crochet stitches.
Turn your work and start the next row by making three turning chains.
Then make two double crochet stitches in the first stitch of the previous row.
In the third double crochet of the shell, make a single crochet.
In the single crochet from the previous row, make five double crochets (5 dc) again.
Continue making 5 dc and sc to the end of the row.
Repeat Row 1 and Row 2 until you reach your desired length.
Open Shell Stitch Pattern
This process will create an open shell pattern, which is the basic shell stitch pattern.
For a more intricate shell stitch pattern, you can use the double crochet shell (dc shell) stitch pattern.
Start with a foundation chain that is divisible by six plus five additional chains.
Then begin by making three turning chains, followed by a double crochet stitch in the fifth chain from the hook.
Skip two chain stitches, then make five double crochet stitches in the next chain stitch.
Skip two chain stitches again, then make a double crochet stitch in the next chain stitch.
Repeat the pattern until the end of the row, ending it with a double crochet stitch in the last chain stitch.
Turn your work and begin the next row with three turning chains.
Then make two double crochet stitches in the first stitch of the previous row.
The dc shell pattern is created by working three double crochet stitches in the middle double crochet stitch of the previous row’s shell.
To do this, skip the first and last double crochet stitches, then work three double crochet stitches in the middle double crochet stitch of the previous row’s shell.
Repeat the pattern until the end of the row, ending with a double crochet stitch in the last stitch.
Continue the pattern by alternating between rows of the basic shell stitch and the dc shell stitch.
Frequently Asked Questions
Is a Shell Stitch the Same as a Fan Stitch?
The fan stitch is closely related to the shell stitch.
It also consists of shells, but it has chain stitches added between the shells.
The most characteristic feature of the fan stitch is that the fans from different rows are stacked on top of each other, whereas shell rows blend with the bottom base of the next row in between the shells from the previous row.
A graphic comparison can help show how both stitches look.
Can I Use Different Types of Yarn for the Shell Stitch?
You can make a shell stitch with any type of yarn you want.
The most universal yarn is a medium-weight yarn, and it is perfect for medium-thick items such as blankets, cardigans, or bags.
For summer wearable items such as a cardigan, top, or dress, you should preferably choose a lighter yarn such as sport or DK weight.
You can also mix different yarns to make a shell stitch.
I used two different kinds of yarn of similar thickness in my example.
However, if you are using significantly different-weight yarns, it is a good idea to make a small sample first to see how the final result will look.
Conclusion
The shell stitch is an eye-pleasing and easy-to-learn stitch that has great versatility and decorative potential.
While it often makes up the whole crocheted article, it can also be a fun accent to draw attention to some of the rows.
I hope you enjoyed this post. I tried to collect all the important details about how to crochet a shell stitch in one place, giving you a complete source to come back to whenever you need it.
If you need any help, please join our kind and welcoming Facebook group community.